Where should a puppet’s elbow fall when its hand reaches its mouth? Moving the joint a few millimeters on the workbench can mean cutting another length of rod. Stop Motion Magazine’s Armature Designer lets you try that change in a browser. Load a puppet, shorten its forearm, then bend the elbow and look at the silhouette from the side. You can save both versions before you cut any metal. [1]
Start with a puppet or a single joint
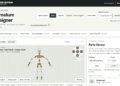
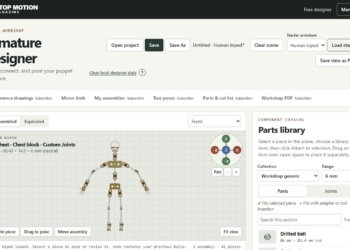
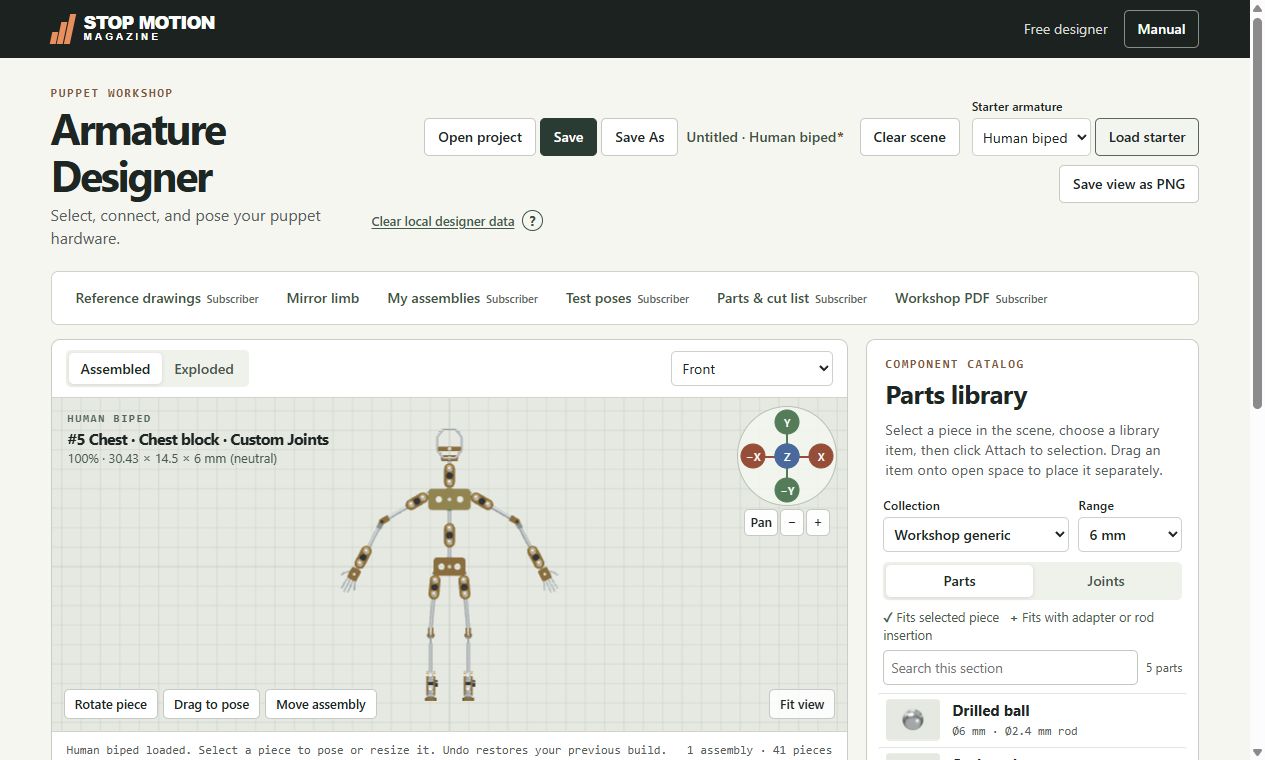
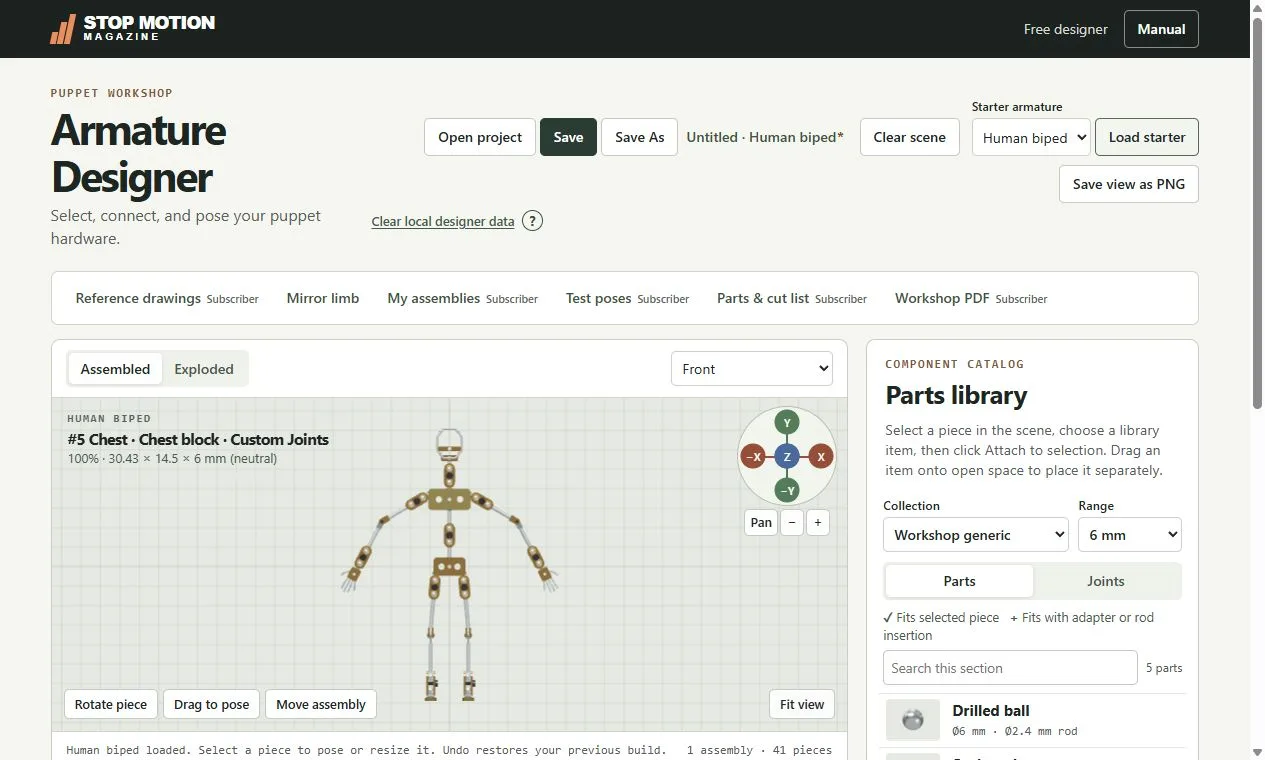
Open Armature Designer from Tools & Apps and choose Human biped under Starter armature. Click Load starter and a 41-piece skeleton appears in the viewport. The front view makes it easy to compare the height of the wrists and elbows. Click a rod and adjust Rod length to change the reach while keeping its diameter. Choose Drag to pose to try the gesture again. The gorilla, dragon, dog, and cat starters are free, too.
Choose hardware and set its size
The Parts library gives you two ways to build an elbow. Under Parts you can pick individual balls, rods, plates, and screws. Under Joints you can choose a complete hinge or double-ball joint. Select a piece on the puppet first and the library marks compatible choices. Pick one and click Attach to selection to connect it at the selected end.
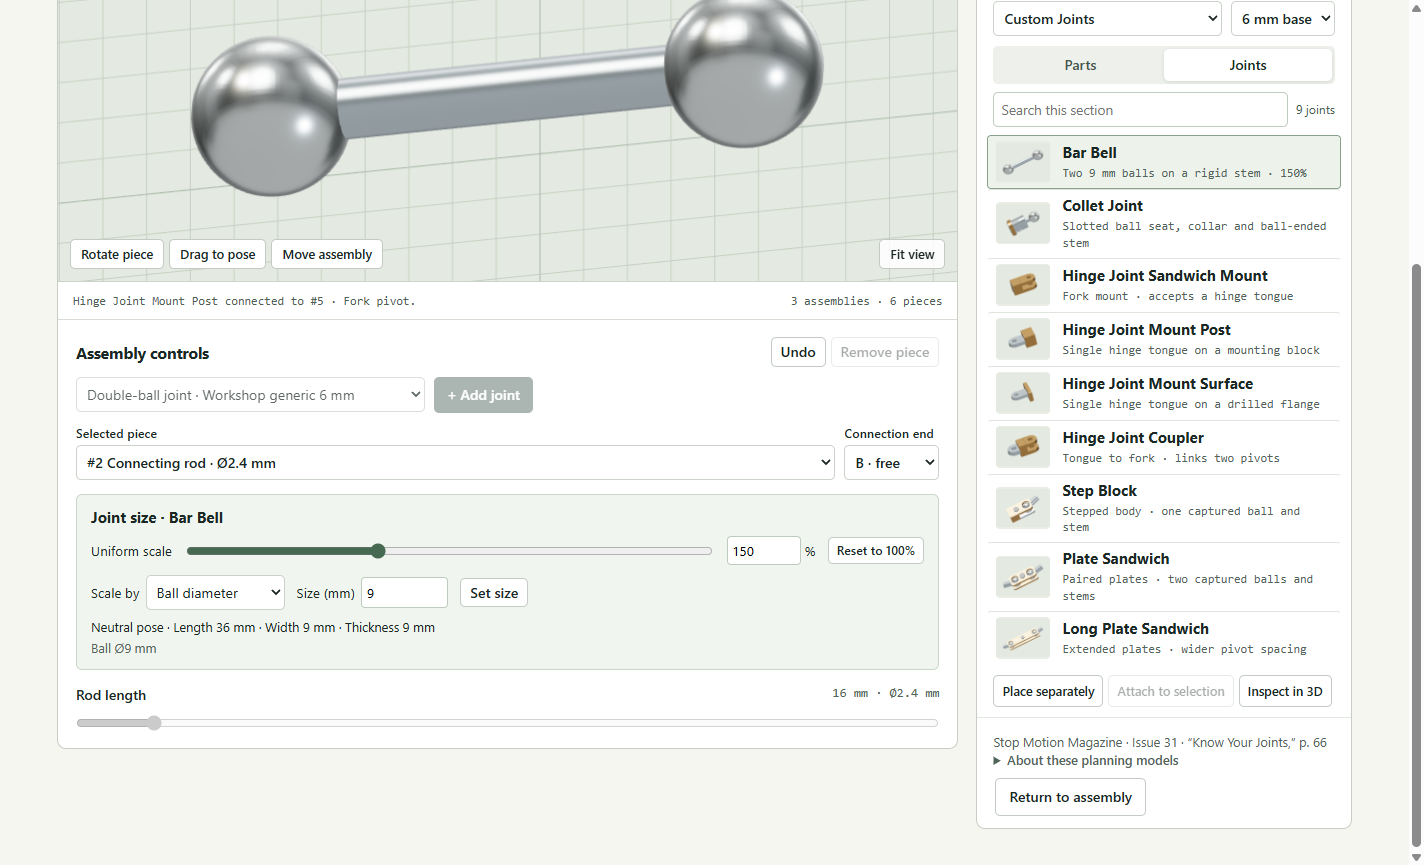
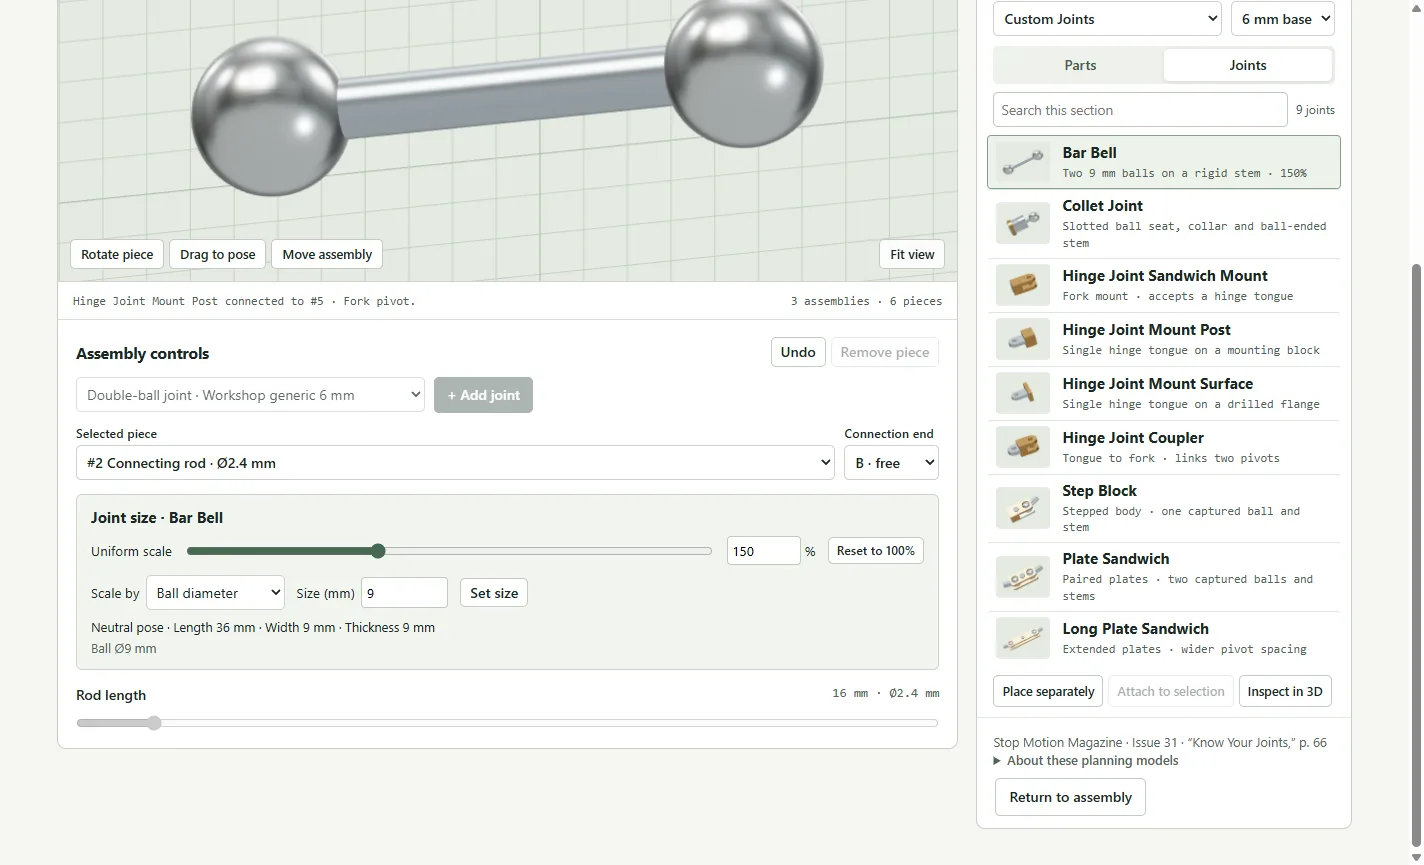
The Custom Joints collection includes forms illustrated in “Know Your Joints” on page 66 of Issue 31. Take the Bar Bell, a rigid stem with a ball at each end. Select Ball diameter, enter a size in millimeters, and click Set size. In the slideshow, increasing the balls from 6 to 9 mm scales the entire joint to 150 percent. Its displayed length becomes 36 mm. That readout tells you how much space the change takes up inside the puppet.
Join two pieces already on the workbench
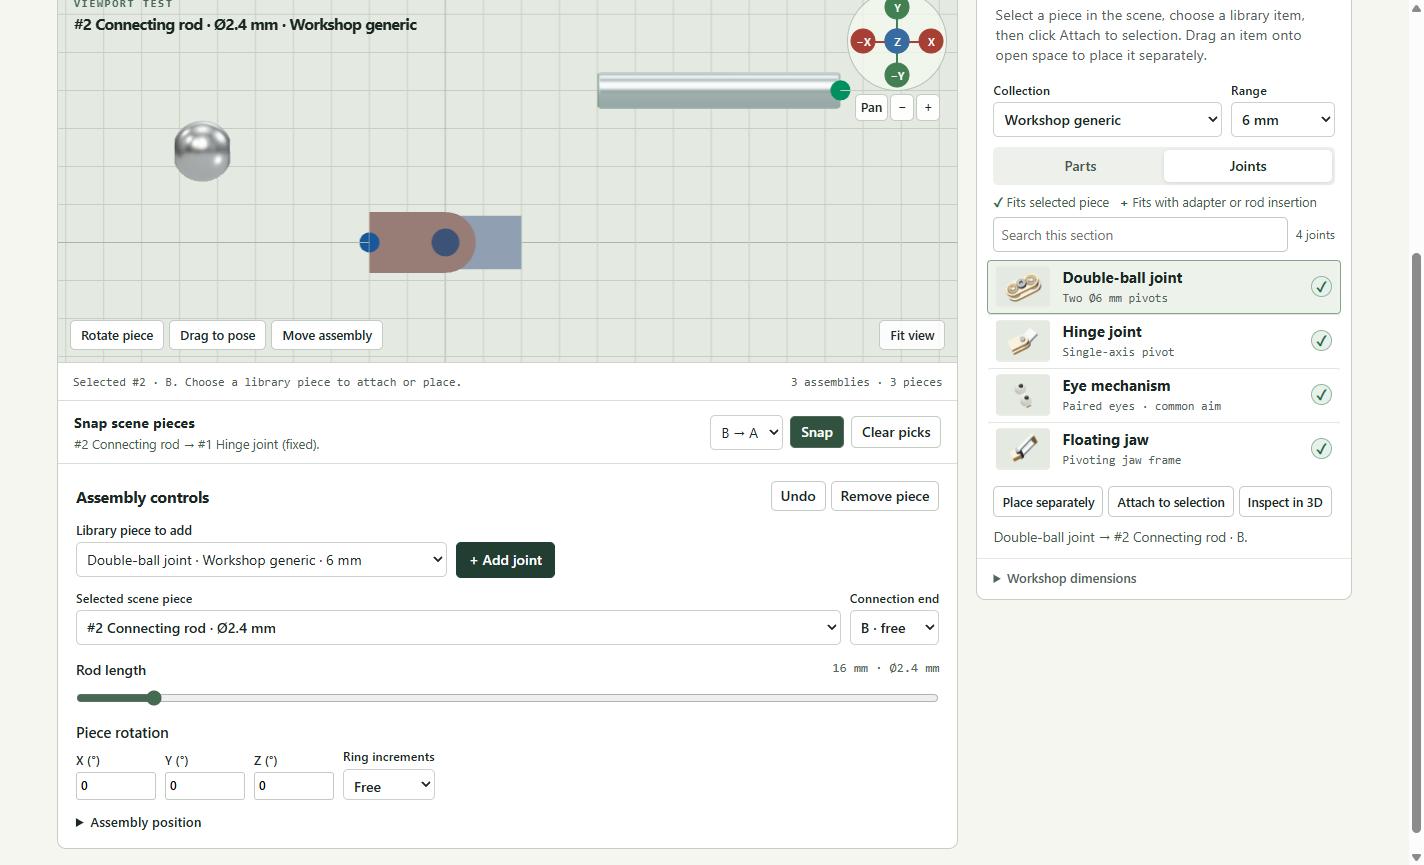
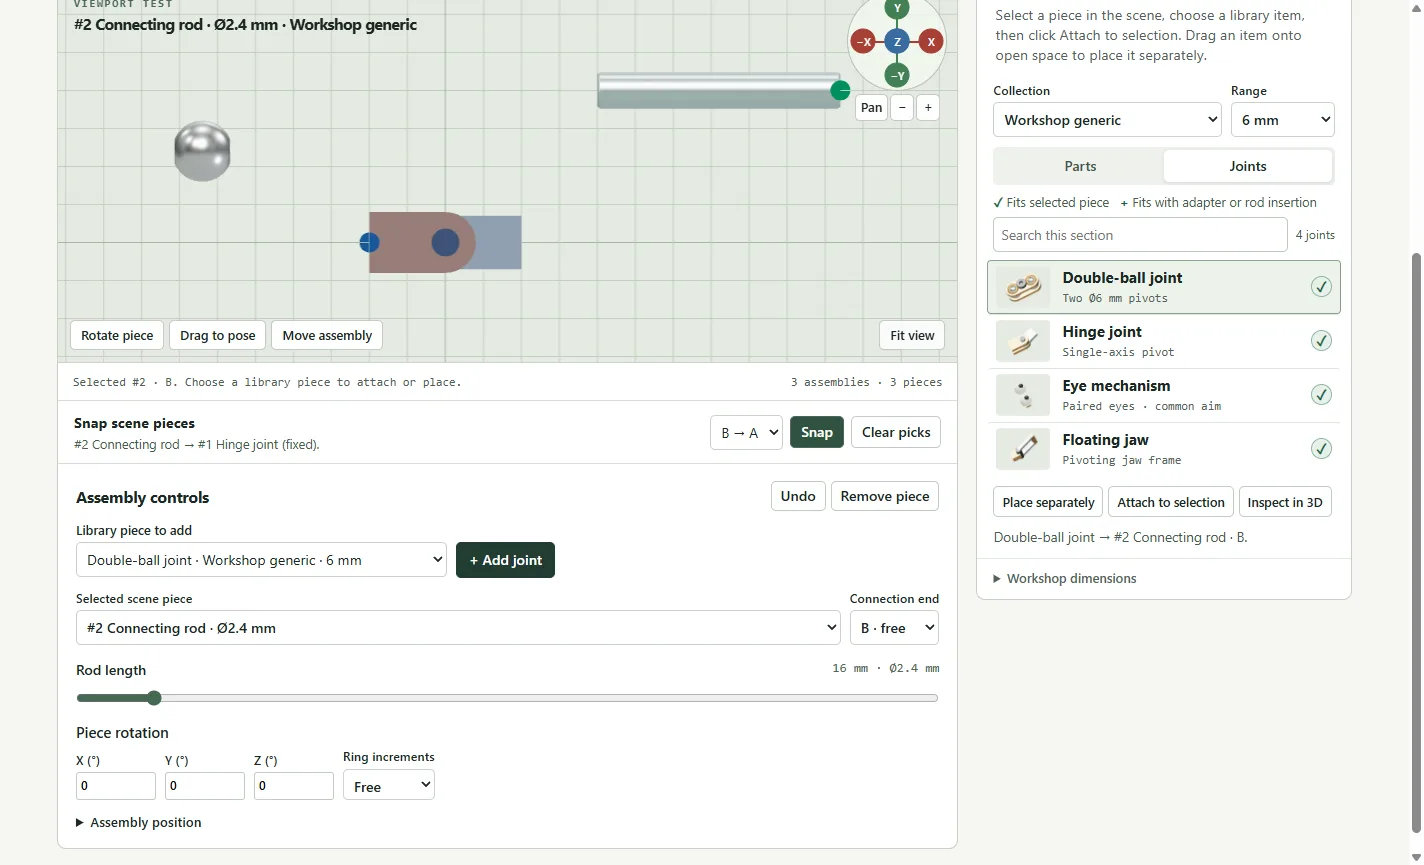
Click the piece you want to keep in place first. For the hinge shown below, that means clicking the hinge, then the loose rod near the tip you want to insert. A blue dot marks the fixed end and a green dot marks the moving end. Check the ends shown beside Snap, then click it. The rod moves into the hinge. This also lets you build a jaw or an eye mechanism off to one side and bring it into the puppet when you’re ready.
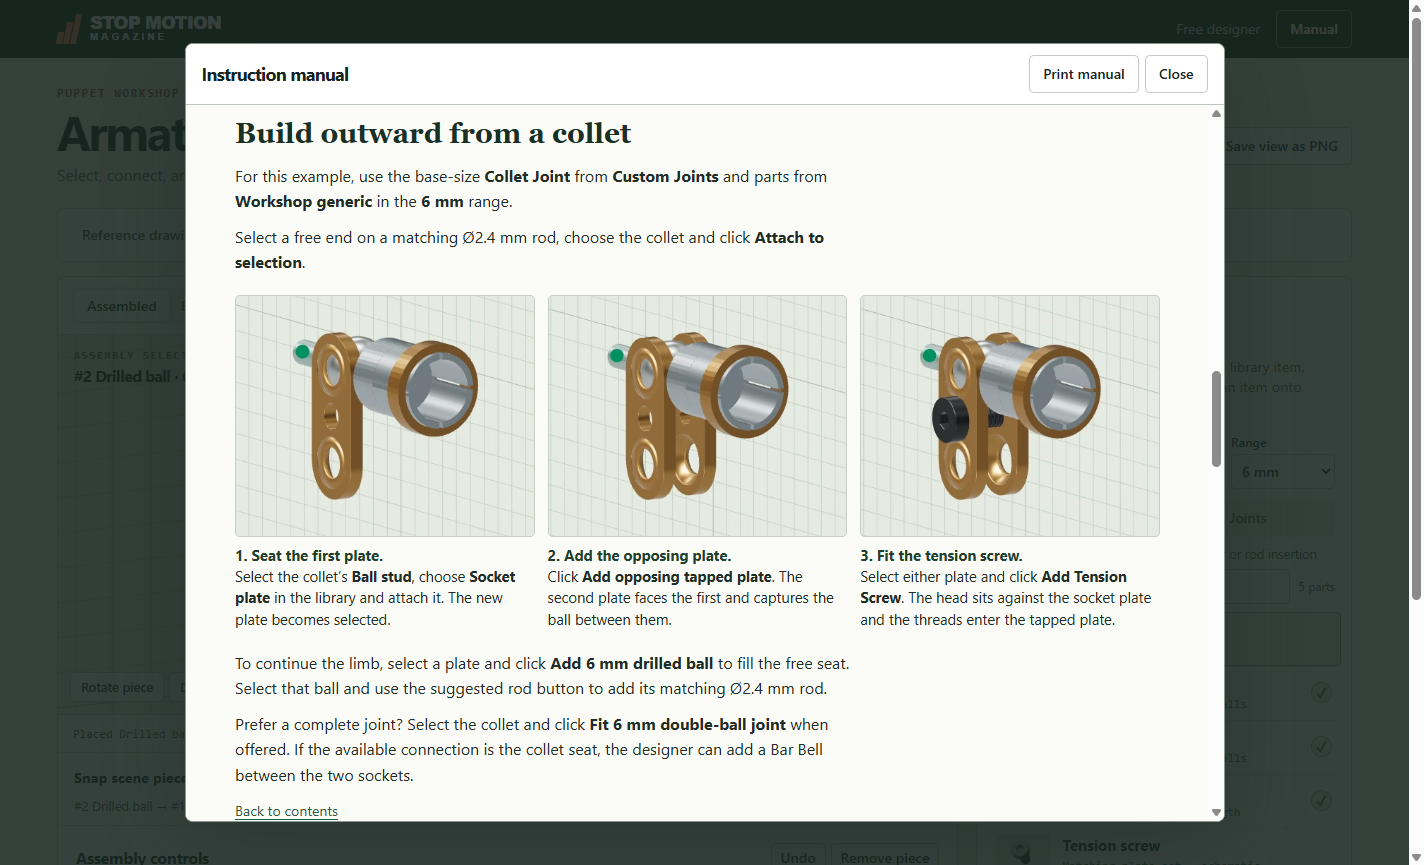
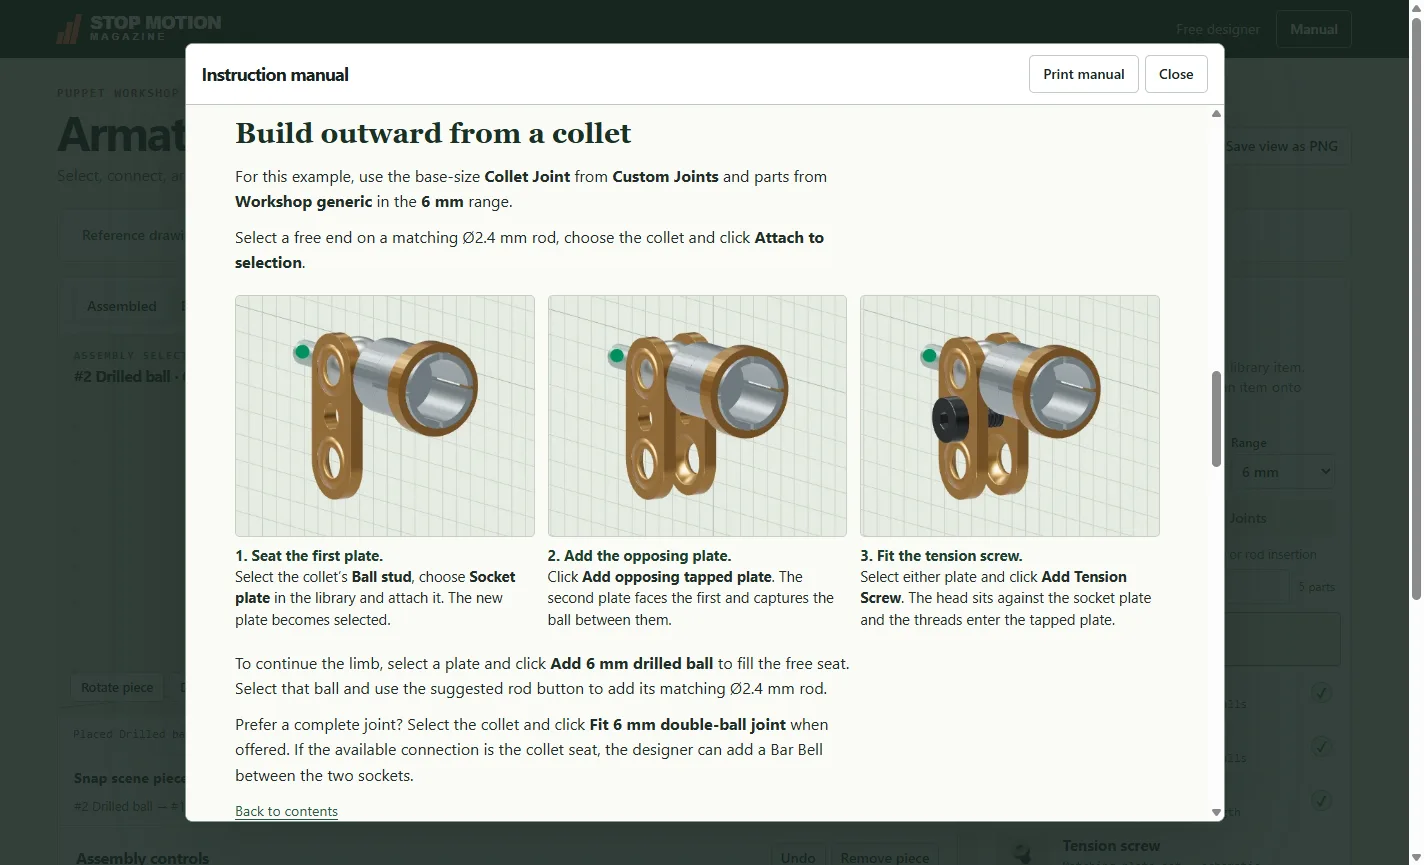
The illustrated Manual shows a smaller assembly that’s hard to read in a finished puppet. A socket plate seats on the collet’s ball stud. Its opposing tapped plate faces it across the ball. With the pair in place, select either plate and click Add Tension Screw. The screw passes through the center of the first plate and into the tapped plate. The free socket at the far end can then receive the next ball and rod.
Take the design to the bench
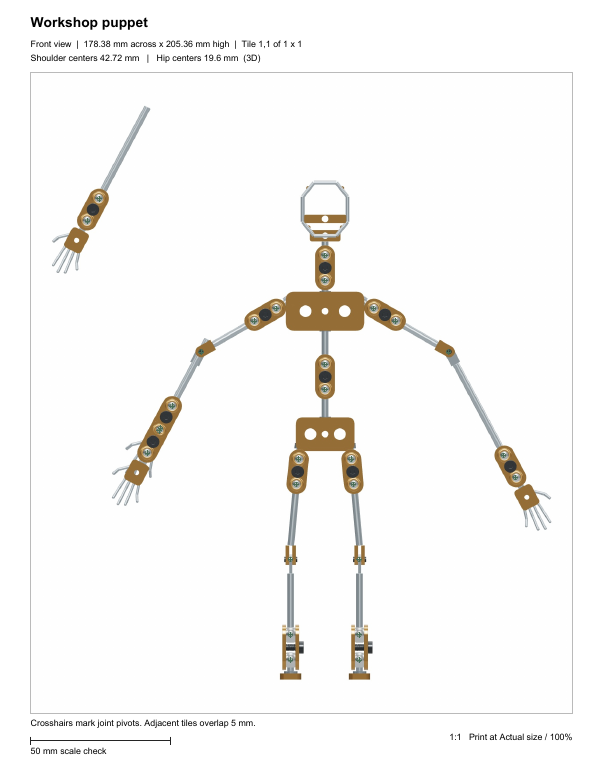
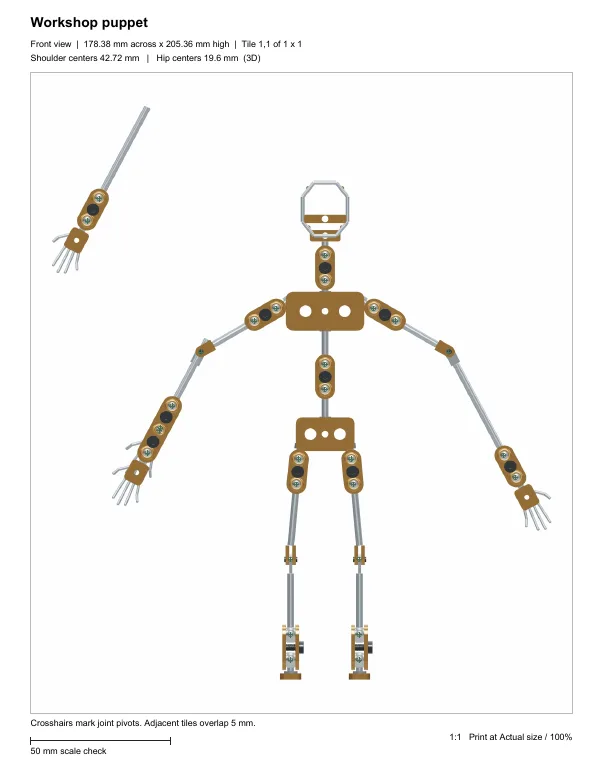
Building, posing, and saving a project are free. Use Save As to keep an alternate set of proportions as a separate project file. Monthly and annual subscribers can also calibrate a reference drawing against a known measurement, keep reusable assemblies and test poses, and export a parts and cut list. The Workshop PDF adds a 1:1 drawing. Print at actual size and measure the sheet’s 50 mm check line with a ruler before you lay a rod against it.
Armature Designer in five images
View a screenshot at full size
Biped workbench · Bar Bell sizing · Snap controls · Collet and tension screw · Workshop printout
Images by Stop Motion Magazine.
Open the Armature Designer launch page
References
- Stop Motion Magazine. Armature Designer and its illustrated Manual. Open the designer and select Manual for the illustrated steps.